Friday, February 8, 2013

Project 52...ish

Hi.  My name is Laura, and I have a problem:  I am an arts addict.

This leads to far too many hobbies.  Clearly one hobby is crochet and another sewing.  My other dominating hobby right now is photography.  I am soaking in as much instruction as possible so I can better capture moments of my sweet girls to treasure forever.  

So I decided to do a project 52 this year...  ish, hehe.  I figure it will help me to be better about capturing moments in time,  it will help slow me down to grow in appreciation of the blessings all around me, and it will force me to continue to practice and grow in photography.

Since times are busy with two littles, a startup entrepreneurial husband, and my own little business, I decided to make a more relaxed project 52 for myself.  My goal is to take at least one photo a week (approximately) and upload/post them once a month (approximately).  Clearly this is a relaxed goal as my first picture was not quite within the week and I am just now posting January's pictures in February, but it gives me something for which to shoot.

Since I am sincerely trying to grow in photography, I do welcome constructive criticism by comment or email.  In other words, please don't just tell me a picture is terrible, tell me how I could have done it better.  And please no criticism on the actual subjects themselves as most of the time it will be one or both of my children or other family and friends.  Other than that, I'm happy to be critiqued and learn new things.

So without further ado, here are January's pictures!

WEEK 1...ish: Baby Toes!
WEEK 2: Texas Snow
WEEK 3: First Solid Food Experience (in order, hehe - love pic #3!)


WEEK 4: First Little-Made PB&J and Wooded Amphitheatre


post signature

Thursday, December 27, 2012

FREEBIE: Grandmother Printable

Anyone who knows my mother knows that she is a ton of fun and fiercely loves her children and grandchildren.  The way we tend to describe her to others is with the word, 'firecracker'!  My mom loves pizazz, shiny things (but who doesn't?), and spunk.  You better believe that if she is buying my daughters articles of clothing, they will most likely have glitter or rhinestones on them.  I wanted to make her a fun little something for her birthday that captures these qualities of her, so I made and framed this fun little printable for her:


A grandmother is a special role, so I wanted to make it available to all of you wonderful friends for your own personal use or to use to bless your grandmother or your kids' grandmother.  It is made in an 8"x10" size and can be printed at any photo lab.  If you get it printed in another size, please check the cropping before printing!  Also, this is for personal use only.  Please do not sell this file or any prints (in any form) of this file.  They are copyrighted by me.  You can print and frame it, you can modge podge it onto something and further decorate it, or you can frame it with no glass covering and add rhinestones, glitter, and such!  Feel free to share the link with others, but please link back here.

Thank you, and enjoy!  Blessings to all those wonderful grandmothers out there!

Tuesday, August 28, 2012

Wickedly Mod Summer Games Giveaway

Last year I participated in my first craft fair.  A little prior to the craft fair, I became familiar with a few of the other vendors that would be present.  One of the vendors I met "virtually" is Suzanne of Wickedly Mod.  I ran across her website and immediately fell in love with her gorgeous work!  And it turns out that she is as nice as her work is!  I love the quality and variety of her hand stamped sterling silver jewelry, and she also sells scrabble tile pendants.

I have this gorgeous necklace and also purchased this one for my daughter.  We love them so much that I wanted to share a giveaway they are having so you have an opportunity to win some of their fabulous personalized jewelry, too!  Check out their summer games giveaway at: http://www.wickedlymod.com/blog/2012/08/07/wickedly-mod-summer-games/

You must be a fan on their Facebook page (found here) in order to win.  Please tell them I sent you so we can each get an extra point in the giveaway!  Thanks!

post signature

*Note: Photo used with permission.  :)

Thursday, August 16, 2012

Important FYI Announcement

Howdy, friends.  Those of you who have been around for a while know that approximately 10% of all sales at LolaLand Creations has gone to provide goods such as journals and books to the Hopeful Hearts ministry at The Village Church to distribute to families suffering through miscarriage and infertility.  These are struggles that are very near and dear to my heart due to personal experience and experiences of loved ones.  You can read more about that and me here and here.

At present, this ministry is under transition into a sort of umbrella recovery ministry at the church.  I have been notified that it is not currently in the position to accept donations any longer.  Therefore, I have the 10% of all sales still earmarked for a local charitable endeavor, but I do not yet know where it will go.  I just wanted to be up front with all of you wonderful supporters to let you know that at present contributions are no longer going toward the Hopeful Hearts ministry.  Thank you for all your loving support you have given to those hurting.  I will be sure to notify you when another recipient of the funds has been selected.  And as always, the remainder of the proceeds after expenses, supplies, taxes, overhead, and this charitable contribution go to support my little family financially.  Thank you from the bottom of my heart!

post signature

Tuesday, March 27, 2012

Tutorial: Tissue Paper Pom Poms

Looking for some fun and cheap frugal homemade party decor?  Look no further! Make yourself some tissue paper pom poms.  These fluffy lovelies add a simple touch of color and cheer!  I made three large ones and two tiny ones for our family gender reveal party.  I ended up leaving the tiny ones down because my daughter thinks they're flowers and loves to play with them and hug them <swoon!3.

Materials:


  • 8 regular size sheets of the same color/pattern tissue paper for each pom pom (you probably could alternate colors if you wanted to for a different effect)
  • Scissors
  • Floral wire (Honestly, I hear twist ties will suffice, and I'll bet string or cheap gift wrap ribbon would work in a pinch.)
  • Wire cutters
  • Fishing line/invisible string (Any old string will do, but invisible string is way more fun!)

Instructions:
  1. Stack all 8 sheets of tissue paper one on top of the other.  I did 4 facing down and 4 facing up (for tissue paper with a print) so the print would be facing out on all sides.  Later, I realized that usually these are hanging above you, so it's probably better to have all the print side facing down.


  2. Accordian/fan fold the tissue paper from short end to short end (so that you're reducing the length of the longest side with each fold - hamburger style for all you elementary art peoples, hehe) using a width of about 1.5" per fold.  When you get to the end, it's okay if the last fold doesn't end perfectly even.  When it's all fluffed out, you'll never know!


  3. Use some floral wire to wrap around the middle of your folded strip, and leave a loop for hanging the pom pom when finished.


  4. Cut a convex (see picture) curve through all the layers on each end of your folded strip.


  5. Lay the strip so the paper folds out sideways.  Then layer by layer pull the paper outward and upward toward the center as if you were making it into a cupcake liner with a point in the middle instead of a flat bottom.


  6. I fluffed out 4 sheets, turned my pom pom over, and fluffed out the other 4 sheets.


  7. Hang from above using your invisible thread, and voila!  Super affordable, fun, and festive party decor!  The size of your pom poms will vary depending on how much you cut off the ends of your folded strip, but had approximately a 15" diameter.  If you want to make tiny ones, simply cut your 8 sheets of tissue paper in half by their length (hamburger style) after stacking and make 1 pom pom out of each resulting stack!


post signature

Monday, March 19, 2012

It's A...

Pregnancies definitely don't look the same way in our life as they do in the movies (for the most part).  We discovered I was pregnant for the first time when we were preparing to buy our first house.  We had to make some teeny tiny decision and fill out some simple paperwork, and I had a freak out melt down.  I was physically unable to make a decision.  It was crazy!  My husband gently asked, "Um...  Do you think you might be pregnant?"  Turns out the answer was, "Yes!"  We were super excited of course!  We took a picture of the little two pink little lines and slipped them into a stack of family pictures.  We then gave that stack of pictures to each family to open on Christmas morning.  We were somewhat cautiously excited and shared our news with minimal people "just in case", but we didn't think we would have any problems.  Two miscarriages later, pregnancy would never be the same.

By the time I was pregnant for the third time, not only were we afraid to celebrate, but I think our family and friends were, too.  Nobody really knew if they were "allowed".  We started out our third pregnancy with a subchorionic hemorrhage (basically, I bled at the beginning of my pregnancy - no welcome sign after having two miscarriages for sure!) and then during the anatomy scan we discovered a choroid plexus cyst on baby's brain (which usually is nothing and goes away, but again, really not welcome news after two miscarriages).  There was no rest in nerves for us throughout the whole pregnancy except our ultimate hope in the faithfulness and goodness of God regardless of circumstances.

Meanwhile, I have a wonderful friend from college who was pregnant at the same time and due just a couple weeks after I was.  It was so different reading her blog documenting her story.  When she found out she was pregnant she made a special and fun way to tell her husband, and then they had a special way to tell their family and friends.  Their whole journey was filled with excitement.  They had a gender reveal party and a bunch of other fun things that we never rejoiced in due to caution and fear.  It was like witnessing an alternate reality!

Nine months passed, and were blessed to welcome my beloved daughter into the world, hold her in our arms, and squish her.  Sleepless nights only made me rejoice - I was never sure I would ever have a chance at them!  Fast forward a little bit, and we are now expecting a second little one to join our family!  We told our our families at Thanksgiving, and they were excited but asked us to let them know when they were really allowed to get excited.  That sort of made me sad.  In our fear while pregnant with my daughter, we missed out on a lot of rejoicing.  I do not want to make that mistake again.  Even if I never get to hold this child in my arms, I want to make sure I have fully rejoiced over every minute I spend with my child in my womb.  It is such a blessing, honor, and joy!

So because of that, we decided to celebrate with a little gender reveal party for our families - that way we could all rejoice together.  I always have these crazy ideas and schemes but am rarely successful at pulling them off.  This was no exception, haha.  I barely have any pictures, I was still making food after our families had arrived, we didn't even decide exactly how we were going to "reveal" until that morning, we didn't get to play the games I wanted to play, I didn't finish decorating, etc.  But that's my style - our families are used to it, hehe.  Oh well!  So I'll share with you what we did accomplish and what we didn't (in case you are better at execution and want to use any of my incomplete ideas).  :)

THE SETUP:
  • Color theme: silver/grey, white, & lime green
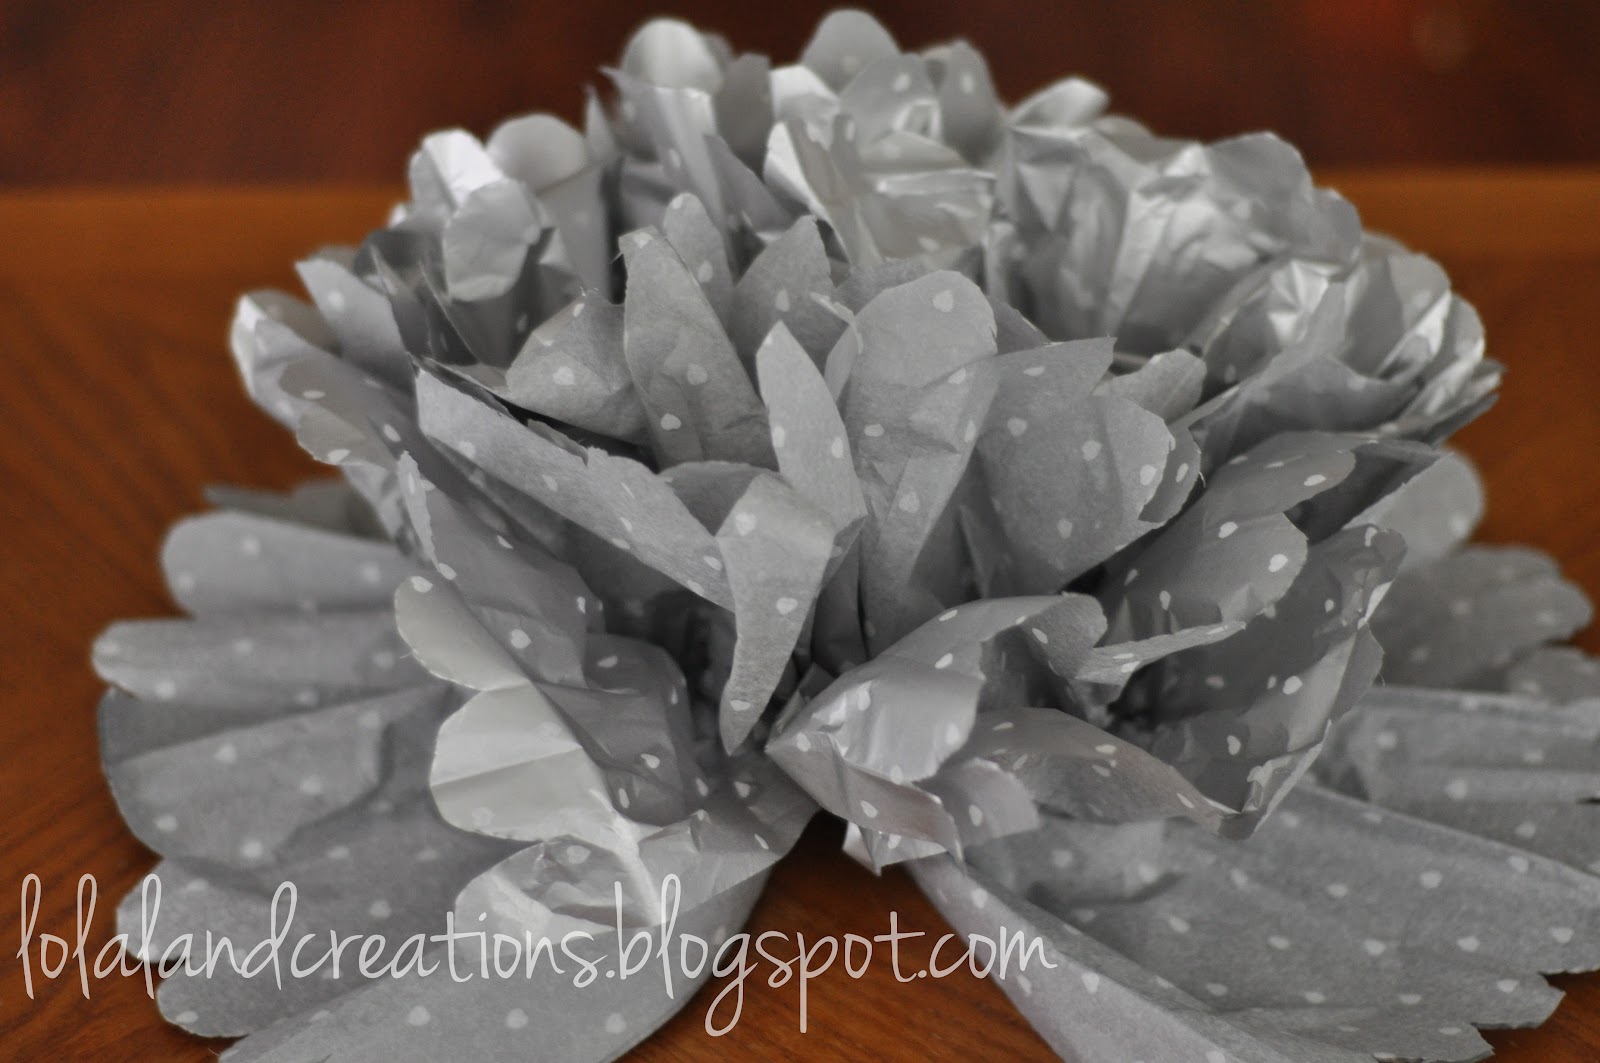
  • Actual Decor: homemade tissue paper pom poms (tutorial to be posted on the blog soon), lime green table cloth, white serving platters, fun napkins with little animals on them
  • Non-Executed (but planned) Decor: paper circle garland, paper bunting, sonogram picture bunting, food labels (I can post how tos on the blog in the future for these as well)
  • Actual Special Touches: I bought a 99cent box of straws at Target and then cut out a bunch of lips and mustaches, hole punched the lips and mustaches in the middle, and set them on the table to represent people's guesses!  I also made a little paper in the theme colors where people would sign their names in the boy column or girl column for baby's memory album later.

THE MENU (lunch party):
  • Chicken salad sandwiches (recipe to be posted soon)
  • Cucumber sandwiches (recipe to be posted soon)
  • Deviled eggs (recipe to be posted soon)
  • Ruffles and Ranch dip
  • Fruit platter
  • White cake with strawberry preserves and buttercream frosting (recipe to be posted soon) in the color typically tied with baby's gender
  • Cake ball party favors (recipe to be posted soon - also, I totally forgot to hand these out...  sigh) with the cake the color typically tied with baby's gender
  • Frozen sorbet (recipe to be posted soon) in the color typically tied with baby's gender
  • Water (meant to be citrus water, but I ran out of time)
  • Sweet tea (recipe to be posted soon)

OTHER (non-executed...  again, sigh) IDEAS:
  • I had wanted to have a pregnancy craving/habit printout game where the guests would guess whether this pregnancy made me crave salty or sweet, crave healthy or non-healthy foods, sleep a ton or have total insomnia, etc.  Had this been executed, I would have had a small prize for the winner or perhaps we would have let this person go in the other room and eat their cake ball party favors early to know the gender just before everyone else found out!
  • I also had hope to do a little name suggestion idea I saw online somewhere (probably pinterest) where guests suggest boy and girl names - not because we were necessarily looking for name suggestions from others, but I hear the results are often fun and hilarious!

THE REVEAL:
  • We wanted it to be fun for our daughter, so we put helium balloons in the color usually tied to the gender of the baby in a giant box along with little tissue paper pom poms in that color and a pic of the sonogram for proof!  Again, if I were good at execution, the box would have been decorated all fun.  But alas, I'm just not that put together, and I'm quite okay with that.  :D


Hope my story, executed ideas, and non-executed ideas have inspired you to rejoice in the moments at hand!  Here's a quick story board of about the only pics I managed to snap that day during the actual reveal and a family shot:


...and just for fun.  Here's a pic of my brother sporting one of the paper mustaches I made at our little nerd style after party with him, my sister-in-law, and niece.  I think it becomes him very well, haha!  The board game we were playing is Citadels.


post signature

Sunday, December 11, 2011

The Stocking Story

As a young married person with a toddler, I love all the opportunity to create family traditions and holiday heirlooms.  One thing I knew I wanted to do as soon as I learned how to sew was to create a stocking for my kiddos one day.

When I was younger, my mom and her friend handmade ornate personalized Christmas stockings for each member of our family.  While they are 2d for decor purposes and not so functional (they don't actually open), they are absolutely beautiful and special!  I wanted to create something much more simple and functional for my daughter this year.  I told my husband that I wanted to make our daughter a Christmas stocking, and his immediate response was, "It should have owls on it."  I. love. this. man!  <3  {I *may* have succumbed to a bit of an owl obsession this past year and my husband thought it was only fitting that the stocking should commemorate that.}

One day while I was supposed to just be picking up yarn in Hobby Lobby, I saw Christmas owl fabric and knew I had to have it!  I put the bolt in my cart to get cut but then talked myself out of it since I didn't know how to make a stocking yet or how much fabric I needed for the project.  I would get home and forget to figure it out.  I did this on at least three (probably way more than that) separate trips to the store.  By the time I found the perfect Christmas stocking pattern, looked up the exact fabric amount I needed, and went to Hobby Lobby with no other purpose than buying the fabric, it was gone <tear>!  My awesome mom searched a few stores by her, but she couldn't find it either.

I posted a call for help in a facebook group, and my amazing WAHM friends came to the rescue!  Crafty WAHM friends from all over the nation offered to search their Hobby Lobbys for me.  I posted a written description of the fabric but could not find a picture.  But the amazing Christina of Livin' Sew Green found a picture of the fabric online based on my description so everyone knew what it actually looked like.  As soon as the picture was posted, a ton of the other WAHMs fell in love with the fabric and requested some, too.  Ha ha!  Then, the fabulous Shanna of Little Britches Bows found the actual fabric and bought a bunch for all of us.

So now I have a homemade special Christmas stocking for my little girl that will always have memories of the year of my crazy owl obsession, proof of her daddy's sweet support and understanding of mama, and memories of the kindness of the WAHM network to go with it.  I hope one day it will be as special to her as it is to me.  It's simple and made by mama with love!


post signature